Have you accidentally reconciled the wrong transactions in QuickBooks or realized an error in your reconciliation process? Wondering what to do in that case? Don't worry! We're here to help you navigate the process of undoing or deleting a reconciliation in QuickBooks with ease. This comprehensive article will walk you through the necessary steps to rectify reconciliation errors in QuickBooks, ensuring your financial records remain accurate and reliable.
Steps to undo or delete a reconciliation of an account:
The processes to delete or remove an account reconciliation are as follows.
- Select Banking from the menu on the left.

- Next, choose Banking from the navigation bar, and then click Account.
- Select Register/Account History from the Action column's menu after that.
- Now, look for one transaction at a time that you need to reconcile.
- Then highlight the tab on the transaction.
- After then, on the top line of the transaction, click the R between the Amount and the Deposit or charge and payment amount.
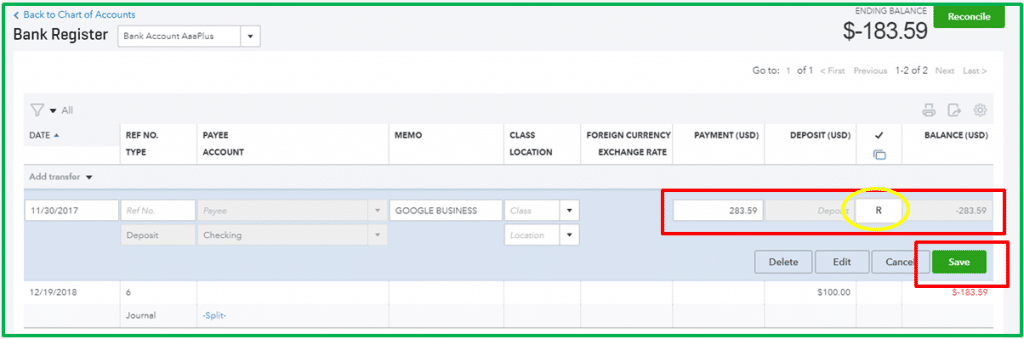
- This field lets you modify the transaction status from "Blank" (meaning "unreconciled") to "C" (meaning "cleared").
- Now click on Save tab.
- You have to click on Yes.
How to Roll Back a QuickBooks Online Accountant Bank Reconciliation:
- Click on the "Gear" icon.
- Then, choose "Reconcile" from the list of available tools.
- You'll need to "Undo reconciliation" again, this time choosing the account you wish to use.

- Keep the mouse button pressed to cancel the selected month's reconciliation.
- In that period, an UNDO button will appear to the right of the auto Change column.
- Then, just use the Undo button.
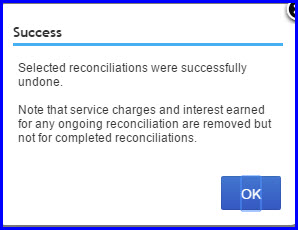
- You need to click on the OK button here.
In QuickBooks Online:
Because QuickBooks Online reconciles each transaction independently, you must perform the reconciliation process step by step:
- To begin, go to the Registers submenu of the Banking menu.
- Click on the drop-down arrow next to Register Name and choose Account.
- The next step is to choose the transaction you want to reconcile.
- To change the transaction's ranking to "unreconciled," remove the R at the beginning of the line.
- Reconciliation is necessary if you need to check your financial records for a specific time frame. Having a printed record of the reconciled transactions might be helpful. To perform this action, choose the reconcile option from the banking menu.
In QuickBooks Desktop Versions:
If you use QuickBooks, as Pro or Premier, the Banking screen's Reconcile Now button allows you to complete reconciliation. Select Undo Last Reconciliation from the menu. But before doing it, you have to click on Locate Discrepancies. To produce a list of discrepancies to find the mistake. QuickBooks desktop has the simplest undo reconciliation method.
The steps below will help in undoing reconciliation:
- Go to the Banking menu and find the transaction you'd want to reconcile.
- Then, choose the Reconcile button.
- Choose to delete the process by undoing the most recent reconciliation.
How to manually reverse a reconciliation:
- To begin, choose the chart of accounts by clicking the gear button.
- Later on, look for the account row that you wish to see
- After that, click on Account History / Register.
- Find the account you must change and click the pencil icon next to the reconcile status.

- The last step is to select the top mark to change it. It is suggested to choose the acronyms: C(Cleared), R (reconcile), and blank (neither cleared nor reconcile)
Conclusion:
We hope that you find this article helpful. However, if you’re still unable to undo or delete reconciliation in QuickBooks? Then you should contact our certified QuickBooks Payroll Support staff at 1-800-615-2347 for prompt assistance.
You may also see: How to Resolve QuickBooks Error 404